Index
Getting Started
Download and Install BlenderDMX Addon
See dedicated Download page here.
Important
Seeing Blender error messages.
Some operations might take a while, end with an error or produce some information into the console, it is thus advisable to always observe the console output.
If you are on Windows, open the system console via Blender - menu - Window - Open System Console. If you are on other systems, run Blender from the terminal, to see the messages: open a terminal app on your computer and start Blender from the command line. You will then see all details and errors printed to the terminal.
Manual Editing of Fixture Data
Upon Create New Show BlenderDMX Addon creates a DMX collection in which the
BlenderDMX data is stored. Fixtures imported from GDTF reside in this
collection and have their node trees in there. Manually editing or deleting
data from the DMX collection, in fixtures’ geometries or node trees will likely
cause issues. Generally, avoid such manual edits. If you break a fixture or its
collection, the BlenderDMX Addon might stop working correctly, and even Fixture
→ Edit might stop working. You can force-delete fixture via the Fixture
list.
Create new show
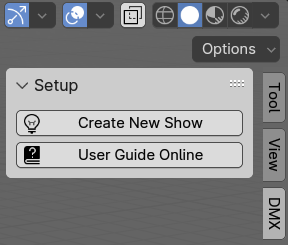
After enabling the Addon, it shows up at the 3D View as a DMX tab on the
right side, which shows a single panel. If you cannot see the side bar, press
N. Start the addon by clicking Create New Show in the DMX tab.
Add fixtures
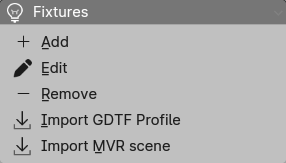
The fixture menu allows to Add/Edit/Remove a fixture.
Select Add:
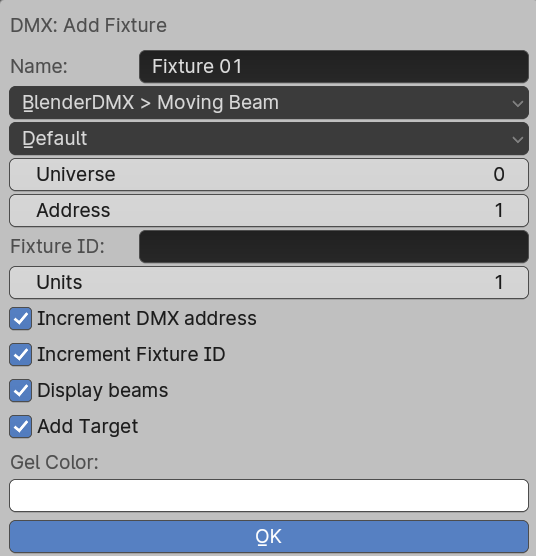
In the GDTF Profile - BlenderDMX Addon, select BeskydBeam. Keep the rest as is and click OK:
Setup beams
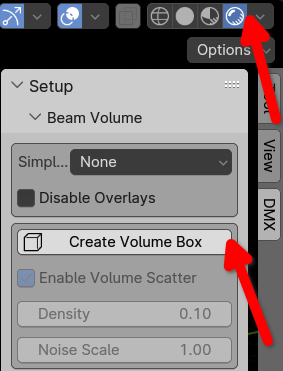
Make beams visible via menu Setup → Beam Volume → Create Volume Box, to simulate ambient fog/haze. Make sure to change Viewport to Viewport Shading:
Move and control the fixture
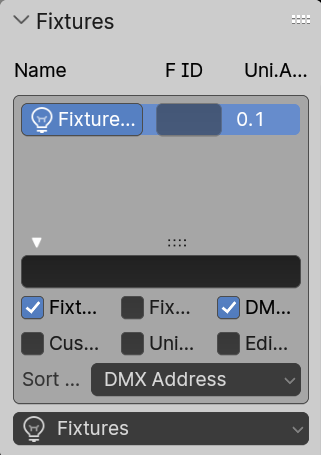
Select the fixture in the Fixtures list:
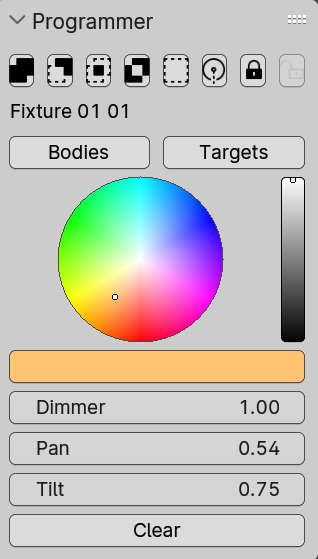
In the Programmer, set color, put dimmer to 1, move pan and tilt:
Success! Your first lighting beam fixture:
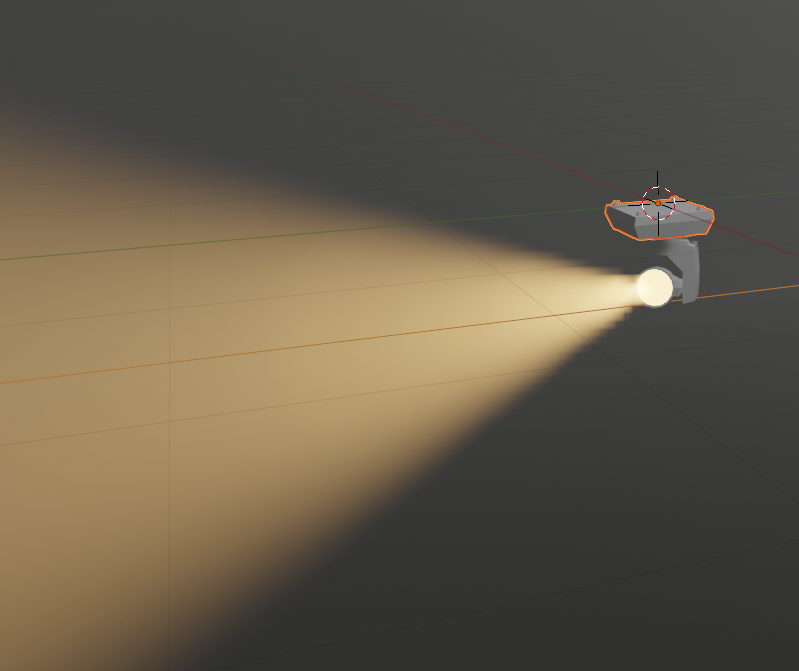
The rendered volumetric beam can be made much nicer, see Beam Rendering. for more information.
Record keyframe
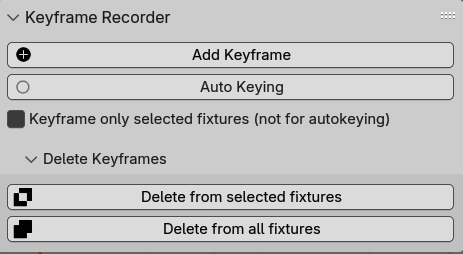
Keyframe recording in BlenderDMX Addon is in menu Keyframe Recorder:
- Add Keyframe allows to manually insert keyframes related to the fixture attributes, like intensity, color, gobo, beam…
- Auto Keying turns on Blender internal auto-keying + changes to fixtures attributes (intensity, colors, gobo, beam…) are also recorded.
You can continue to the User Guide